HOW TO GET PUBLISHED IN FASHION MAGAZINES
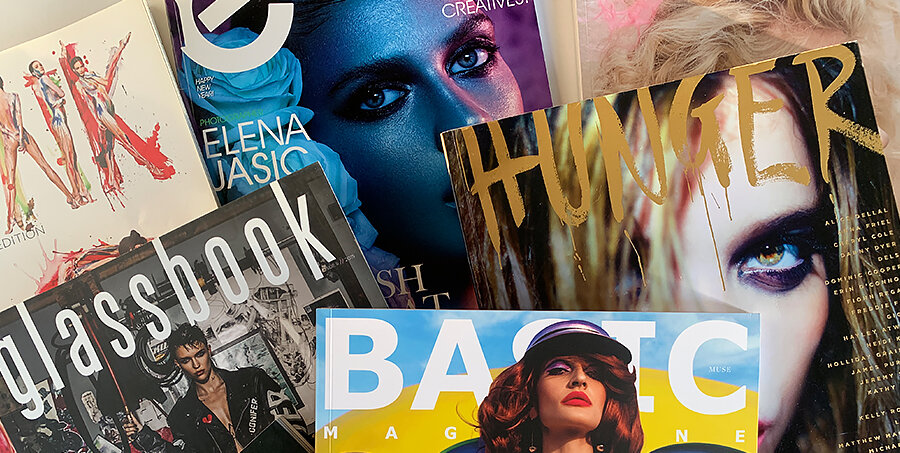
When I first had the realization that I wanted to be in the fashion/beauty space, the major thing that I wanted to know was how to get published in fashion magazines. Ultimately, I realized there were some fundamental things I had to learn before I’d be able to step into that world. I started submitting work to magazines and getting published in 2009 and throughout the years I’ve been in a variety of magazines; some independent, some sold in bookstores worldwide (BASIC, Glamour Germany, Z!NK, CREEM, GlassBook, FRONT, Vulkan, BULLET, Factice & more). I’m here to tell you everything that I know about this process and what has worked for me. This post is derived from personal experience and opinion but it’s intended to help you increase the chances of getting published. The majority of the information here can be applied to other types of photography or art submissions. I hope you enjoy!
Things to know
Editorial: is a fashion or beauty story told in 6 - 10 images focusing on one concept with a different look per image.
Look: a look change can mean multiple things. In one image the model can have red lips and in the next, pink lips. Creating a different look can be one small thing such as lip color or a complete hair, makeup, and clothes transformation in every image. It is important to have evolving creative changes to captivate interest and ensure good storytelling.
Tearsheet: is a physical copy or PDF of your editorial from the magazine.
Compensation: This is not a paid opportunity unless noted by the magazine. Editorials are used to build portfolios for the members involved. It is important to work with people that you believe will add value to your work.
CREATE A LIST OF MAGAZINES
Before taking the step of getting published, you should be clear on your personal photographic style. When creating this list, it’s important for you to choose magazines that share your aesthetic or are not far off which increases your chances of getting published by that magazine. There are a few ways to acquire this list; one of the most popular ways is searching via Instagram. If you type in any fashion magazine and click to view their profile, you’ll see a downward pointing arrow to the far right. Tap that downward arrow & Instagram will provide a drop-down of other suggested accounts which typically include other photography magazines. Once you’ve found these magazines, you’ll navigate to their contact/info pages. They will either have a direct email for submissions, telling you very obviously that they accept submissions, or most times with bigger magazines they won’t. In this case, you want to take down the editors-in-chief or photo directors’ names/emails. If their emails aren’t listed, you can assume that it’s their name@whateverthemagazine.com (you can test emails using this email checker). It is also important to note that magazines only want unpublished work. That means the images you are sending to them shouldn’t be on your website, Instagram, other magazines, or anywhere else on the internet.
Another way to go about creating this list, which is also the method I used, is to visit physical stores that sell magazines and look through them to source the information mentioned above. Back in the day, you would find me in Barnes & Noble at least once a week. When I traveled to bigger cities, I would visit the stores selling magazines because it would enable me to find a wider range of publications. One thing to note is that many more magazines are publishing online rather than print for submission-based work. If you’re published in a non-independent print magazine, it’s likely that you will have a conversation with them prior to shooting an editorial for them. It’s not completely off the table for magazines sold on newsstands worldwide to accept submission work for print, but it is less likely to happen. When contacting the magazine, you can specify if you are intending the work to be for print or online only. Do this only if you have a strong preference, otherwise, it does lower the chances of the publication accepting your submission.
Tip: Create an organized text document with all magazine information for future reference.
2. The Shoot
After the list has been created, you have to decide what kind of concept to photograph for the magazine. Magazines with submission pages typically list themes for upcoming months, but not all do. The next step will involve taking a deeper look into the magazine to see what kind of stories they’ve already published so you can avoid repeating a shoot they’ve already seen and most likely wouldn’t be inspired to publish again. I’ve had submissions turned down because the shoot I sent in was similar to something they already had. Image selection is a very important key to getting published.
Keep in mind that you are shooting an editorial. You need at least 5-7 different looks for a magazine to consider your submission. You want every image to be completely different in pose & expression, nothing that feels repetitive. Every image should be strong on its own and the best representation of the look you’re trying to convey. Keep in mind that even if your shoot is amazing, it could get rejected by the magazine because art is subjective. It doesn’t mean you suck, don’t be hurt by this but rather use this to motivate yourself. I’ve received multiple rejections from the same magazine, but that doesn’t discourage me from continuing to send them work in hopes that one day it will be a yes.
3. prep files
Each magazine that takes submissions will more than likely have a section on their website where they specify how they want the files sized, named, and delivered. So, before submitting to each magazine, make sure you know the submission rules and preferences. If no rules are listed, I suggest the following:
Only send high-resolution 300dpi JPGS
Name your files PhotographersName-MagazineName-1.jpg etc
Put these files in a folder named FirstandLastName_Magazine Name
Next, within this folder, include a text document of Team Credits, which should include everyone’s names along with their social handles
You’ll want to send these files via Dropbox or WeTransfer (most commonly used in the industry)
When sending the files over, it’s important not to send attachments. Emails with attachments have a higher risk of going to the spam folder than ones without. I’ve found it helpful to include all of this information upfront in my submission so if it’s accepted, they can move forward with downloading all of the content they need. It’s also nice to have this ready so you can send it to all of your team members. Since we are sending a fashion or beauty story, including designer or beauty product credits is a must. This information can be at the end of your Team Credits. Below is an example of how this would be structured.
Team Credits
Photographer - Elena Jasic
Makeup Artist - Jane Doe
Hair - John Doe
Stylist - Jane Doe
Model - John Doe
(fashion story)
PhotographersName-MagazineName-1.jpg
Top: Designers Name
Bottom: Designers Name
Accessories: Designers Name
(beauty story)
PhotographersName-MagazineName-1.jpg
Eyes: Beauty Product
Lips: Beauty Product
Skin: Beauty Product
Lashes: Beauty Product
The next thing we have to consider is how to display our images in the email without making them click and download a bunch of files. No one wants to do that. The two things I always include in my submission emails are a Pixieset gallery and a compressed PDF using SmallPDF (for fast loading). Both Pixieset and the PDF are designed with the story title first, ending with the last image being team credits. It’s important that you give thought to the order of the images. Aim for displaying them in a story-like way.
4. SEND THE EMAIL
This is arguably the most intimidating and stressful part of the entire process. The first thing to know is: DO NOT BULK EMAIL. Decide which magazine you think your story will best fit in, and reach out to them first. Once you’ve sent the email, wait about two weeks for a reply. If you don’t hear anything by then, move on to the next magazine on your list. If for some reason you are in a situation where your images have been accepted to two magazines, do the right thing and reply to one of them to let them know your story is no longer available because it’s been published by another magazine and apologize for any inconvenience. During this process, you’ll heavily be using your magazine list for reference and keeping track of which ones you’ve already submitted to. Another thing I’ve found very helpful is to create a folder in my email app that keeps all of my submissions in one place. I have a folder named “Magazine Submissions” and within that folder, I have a folder for every magazine I’ve submitted to with the correspondence emails inside. This helps keep my communication with the magazines organized and is another way I can verify which magazine I’ve already submitted work to and which story I sent.
Keeping emails relatively short and sweet is what has worked for me. Magazines don’t care about why you’re a photographer or some deep explanation of your concept. I’m not saying don’t mention it, but try to keep it under 5 sentences. Introduce yourself, ask them to kindly consider your submission, include your most relevant socials with a pretty email signature and patiently wait. That’s it. You did the hardest part, which was to be vulnerable enough to put your work out there!
If you want to know EXACTLY what I write in my submissions emails, sign up get an instant download of my free Submissions Email Template.


