
TETHER PHOTOGRAPHY (hardware, software and set up)

What is tether shooting?
Tether photography is the process of shooting with your camera while connected to your computer through a cable or wireless shooting software. When tethering, the images you shoot instantly transfer to your computer, creating both an instant backup and a larger image viewing. Tethering software – for your smartphone, computer, and tablet – allows you to remotely trigger your camera. So, for instance, if your camera is on a tripod, you’re able to walk away, make changes in the scene, and take photos without disrupting the flow of the shoot. The most popular tethering software is CaptureONE (industry standard) and Adobe Lightroom.
Tethering via mentioned software also provides some other benefits:
View images in Full Resolution
Live View Shooting
Tag, Rate, and Edit
Apply a color Preset to every imported image
Faster way of obtaining the desired shot
Why tether?
With there being so many reasons why you should tether, I believe the most important one is collaboration and workflow. As you grow and your projects involve more people, you will get to a place where tethering will become a necessity because being a successful photographer is about the entire experience. On set for commercial or e-commerce shoots, your tether setup allows others (client, stylist, lighting tech, makeup, hair, etc) to view the images as their being taken and check for things to be changed or fixed. This creates a better work flow, so that the team members aren’t all gathered at the back of the camera. Aside from collaboration and workflow, introducing this to your photography sets will also increase production value in your clients’ eyes.
Work more effectively with creative teams (client, stylist, lighting tech, makeup, hair, etc)
Images viewed in real-time on a larger display
Enables you to instantly create a back up as you shoot
Increases production value
What equipment to buy?
Tethering specific equipment can be costly. My primary goal in putting this post together is to provide information on the topic and to share an affordable professional tethering setup. Above I have listed all of the setups you are able to do with the gear I will be listing below. This does not include the iPad, Laptop, or Tripod.
Ways to Tether:
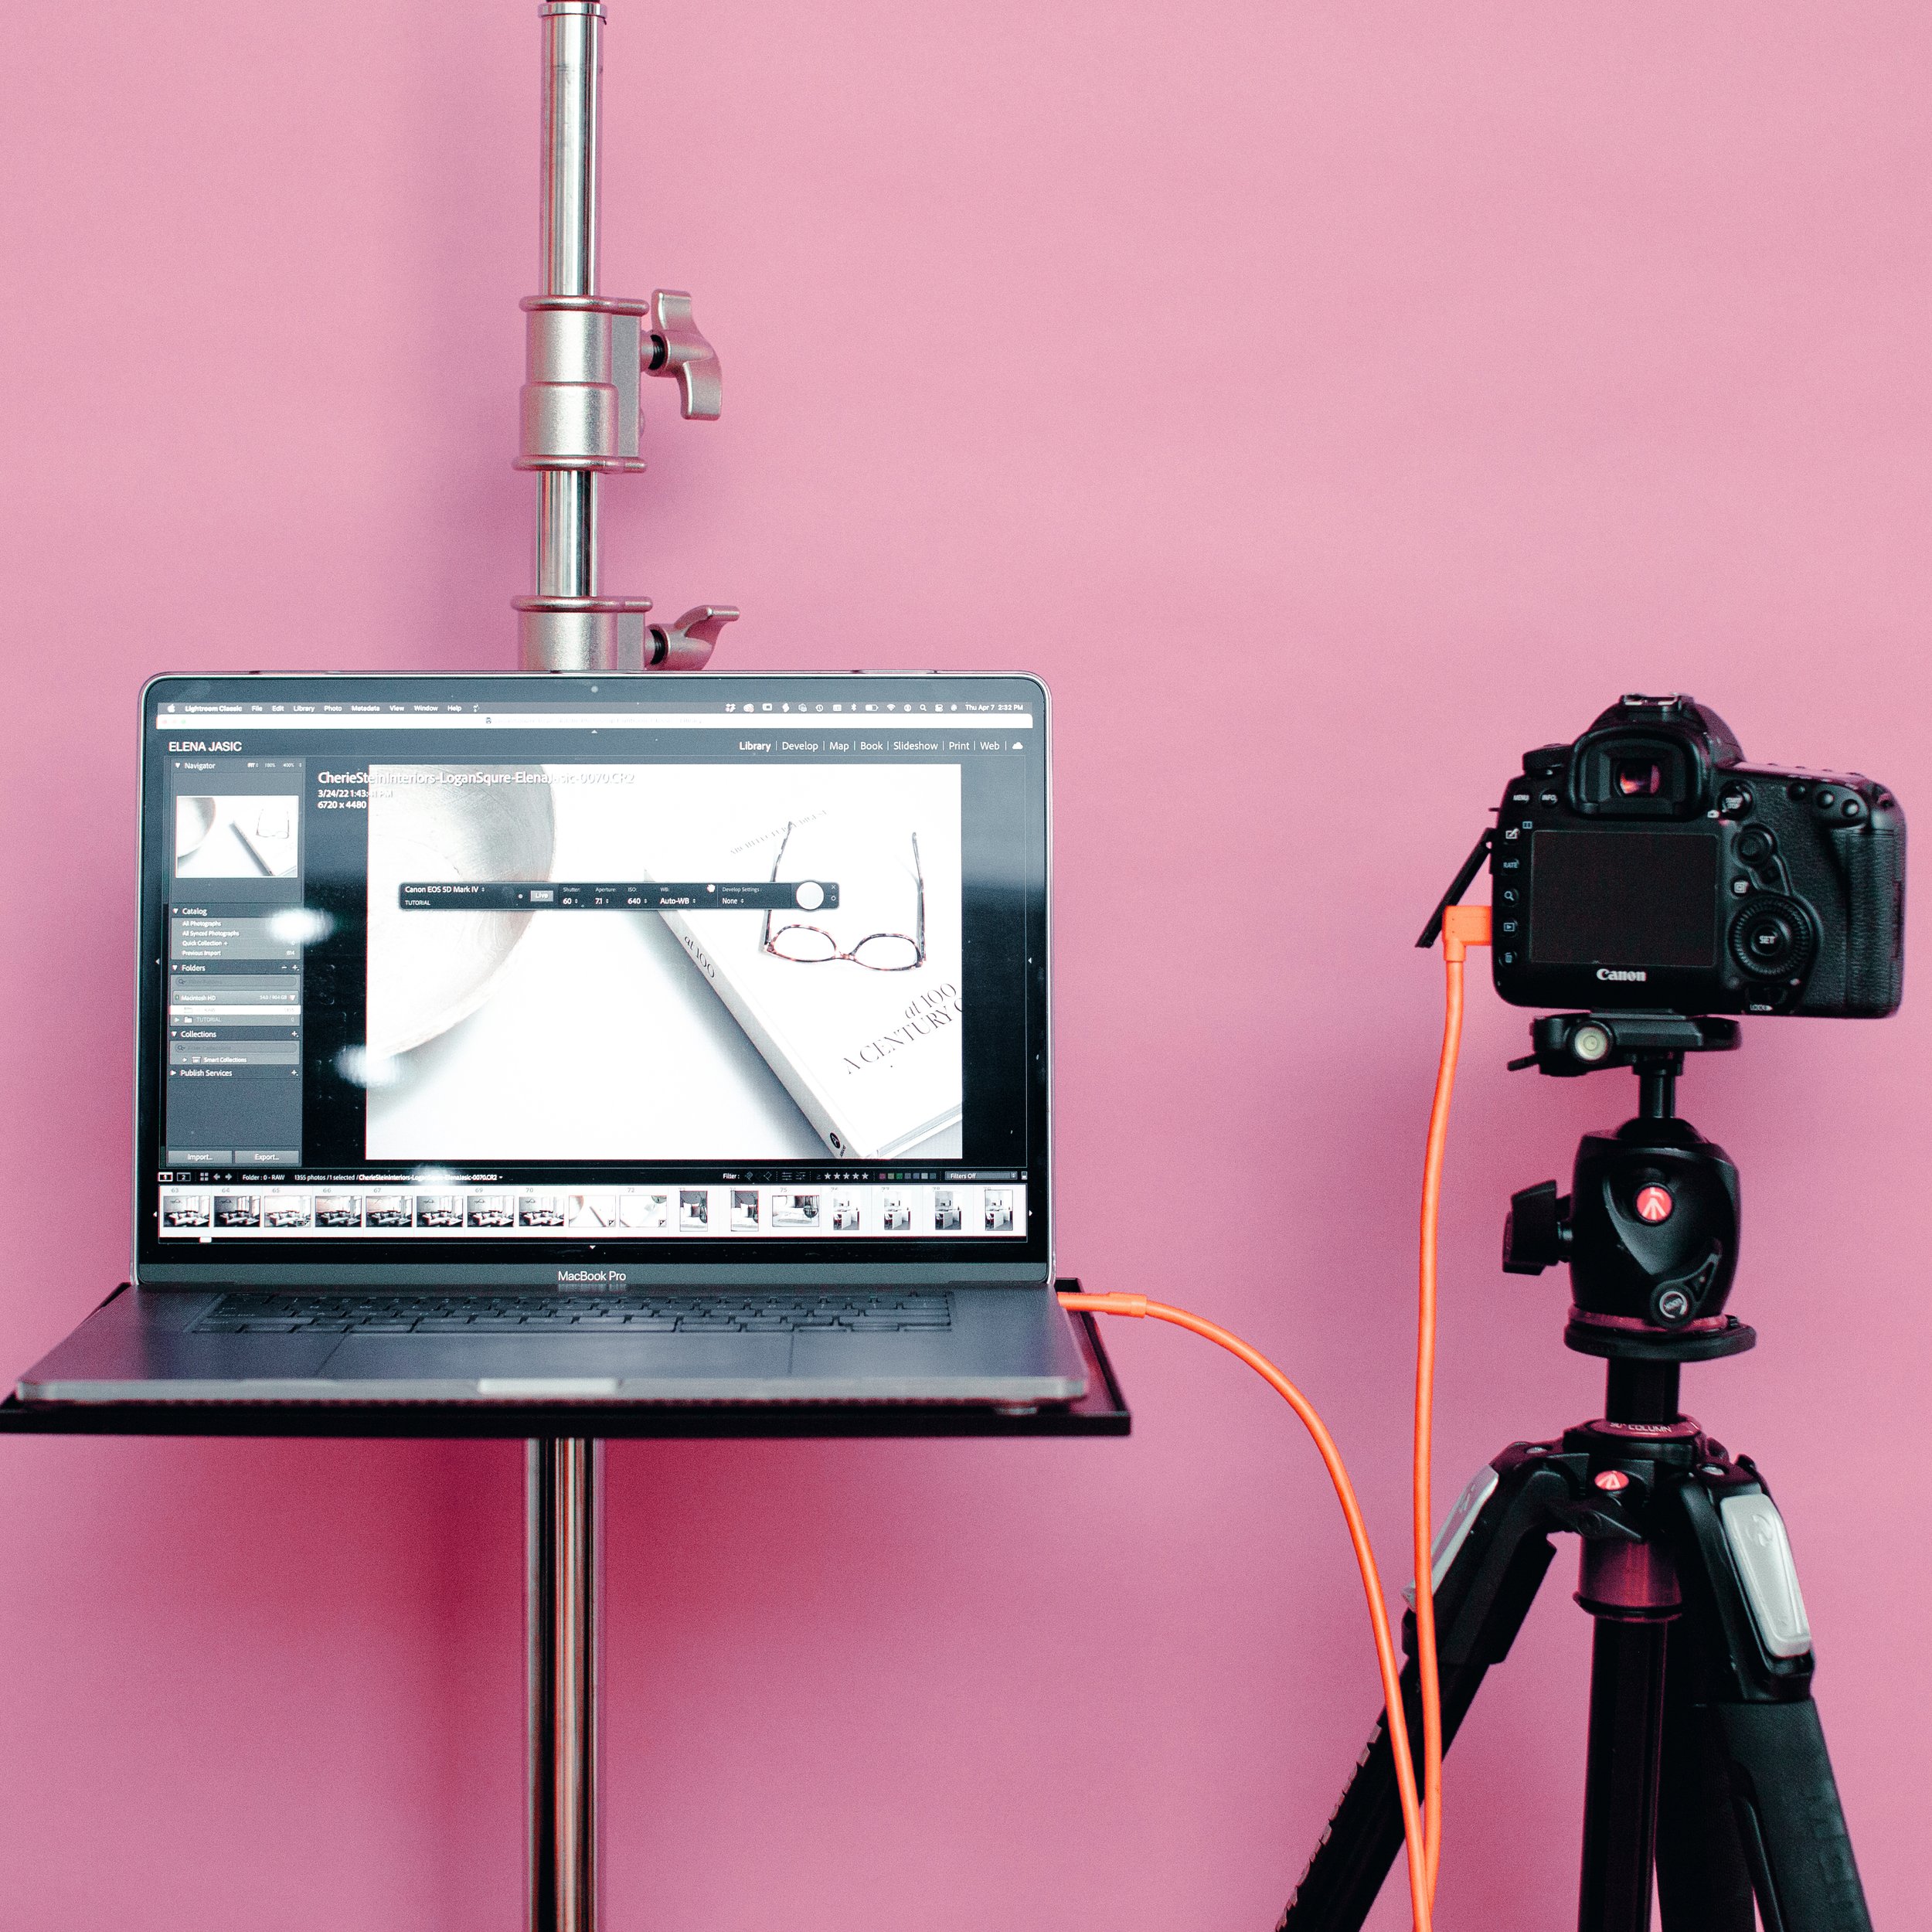
Camera > Laptop
This is the most common tethering setup, and one that requires the least amount of additive gear.

Camera > Laptop > External Monitor
This is the most common set up used in the commercial photography world. The external monitor’s orientation can be vertically oriented for additional viewing options.

Camera > iPad
This is the only wire-free setup but requires owning an iPad or a tablet, so you can download a tethering app compatible with your camera's software. I shoot with Canon, so I use the free app provided by them. This is also the most mobile setup because no plug power is required. It’s important to mention that this setup might be more suitable for viewing, due to not being able to back up images as you shoot.

Camera > iPad > External Monitor
This is an elevated version of the setup mentioned above that includes larger photo viewing.
Equpiment & Pricing
Dongle: $22
Laptop tray: $45
Monitor: $180
Stand: $168
Tether Cable: $57
iPad Mount: $38
TOTAL COST: $595
Conclusion
Tether shooting can be a great asset to your workflow and production. If this is your (first) time, I hope this has provided you with the guidance you need. If you have any further questions regarding this topic, please feel free to reach out!